Whatever you’re reason for replacing hardware whether it be security, accessibility or for a new look, it’s important to use the right tools and the right hardware.
There are three hardware types for interior doors: privacy lock sets, passage latch sets, and dummy sets.
If you’re changing hardware for a bedroom or bathroom, opt for a privacy lockset with a simple push lock. If your door is a larger closet or a main room of the house like a living room or dining room opt for a passage latch set. If your door is a smaller closet or other room where the door does not latch, go for a dummy set.
(Image: Houzz)
- How To:
-
 Before you purchase your new door handle, measure your door. The standard door size is 1 3/8-inch thick, and modern door handles are designed to fit this size. Check your door’s thickness before you select your new hardware.
 -
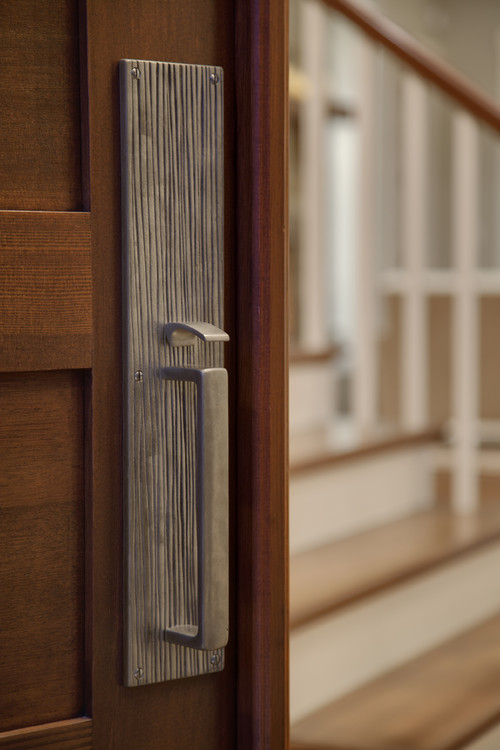
 Next, decide what type of door handle you’d like: a knob-type handle or a lever-type handle. Knob-type handles turn with a round knob, while lever-type handles look like a sideways “L.” You push down on the lever to open the door.
 When you purchase your hardware set, make sure your package contains: interior and exterior sides of the handle set, the latch, a strike plate that goes on the jamb of the door, installation screws and key (if you’re using a privacy lockset). These items will be listed on the package.
  Remove your old door hardware. To do this, look for two screws on the interior side of the handle (near the door). Take out the screws in the door edge and pull off the knob slowly.
 Remove the strike plate on the doorjamb. The strike plate is the metal plate affixed to a doorjamb with a hole or holes for the bolt of the door. Your doorjamb is the vertical part of the frame where the door is secured. Insert your latches into the faceplate holes and secure them with two screws.
 Now it's time to install the new hardware! Start by installing the faceplate. Make sure the plate fits flush with the door. If it doesn’t, use a hammer to lightly tap the faceplate until it sits flush.
 Next, insert the side of the handle set that fits through the middle of the latch. Then fit the exterior half of the doorknob over the interior half (it will fit snugly). and
 Secure the two halves together with the two screws that came with the knob. Tip: Install the first screw loosely and then insert the second screw. That way, you’ll be sure they line up properly. Once they’re both in, then you can tighten the screws with a screwdriver. Lastly, install the strike plate in the doorjamb with two screws for wood.