Wednesday 22 August 2012

10 Strange Things You Can Compost


When most people think of composting they think food scraps, but there is so much more that you can add. Once you read this list you'll find your self standing over the bin asking yourself, "Could I compost this?" and chances are pretty good that you can.

However, a few things to avoid composting are meat, items soiled with human fluids and diseased plants.


  1. Skunked beer, ancient candy bars, expired protein bars 

  2. Cat fur, dog hair, and nail clippings. Just try not to keep your nail clippings in a jar, that will probably freak people out. If it's in the vacuum, it can go in the compost.

  3. Your hair – you could even bring the clippings home from your hair dresser. If you don't mind some stares while you stroll around with bags of hair of course.

  4. Bills, because shoving bills in with melon rinds and egg shells is way more satisfying!

  5. Old fish food and stale catnip 

  6. Jell-O (gelatin) 

  7. Bamboo products such as spoons, chopsticks, etc. 

  8. Wood fire ashes from grill or fire-place (also from smoking fish and other meats) 

  9. Crepe paper streamers. Tear it up like it's 1999 and then tear them down.

  10. Small pets that have died, like goldfish (Not recommended, but possible.)


What strange things can you add to your own compost?
Native Plants Make For a Successful Garden


Gardening doesn't have to be all finicky with companion planting and moon phases, it can be simple and enjoyable. The easiest way to keep a low maintenance garden is to choose plants native to your region, and Alberta has some great selections for a beautiful garden year round.


Flowers
Brown-Eyed Susan

These large flowers can be found in Alberta's Prairies, Foothills and the Rocky Mountains in sunny, dry locations such as dry open meadows and hillsides. They attract butterflies, bees and birds and grow quickly with blooms from June to early August.


Forget Me Nots

These cheery little blooms can be found nearly anywhere in Alberta so long as they have a sunny, sheltered and well drained area. The showy flowers have a long bloom time from May to August and make for a great boarder at the front of a flower bed.


Giant Hyssop

This large leafy plant produces large, showy blue flower spikes that attract birds, bees and butterflies. It prefers partially shaded, well drained areas typically growing in moist open meadows and on the edge of aspen woodlands.


Prairie Crocus

These slow growers have a short bloom time but are still a welcome sight for many as it means spring has sprung in Alberta. Their little purple flowers generally poke up through the snow in late march and by April have transformed into fluffy seed heads that linger until summer. These flowers prefer well drained sunny meadows and hillsides.


Red Columbine

These bright red and yellow blooms and a perfect garden plant growing quickly and being less particular about their growing conditions. These showy blooms attract butterflies and hummingbirds  and provide great fall colour.


Shrubs
Alberta Wild Rose

Alberta's provincial flower can also be a great addition to your garden! This small, woody shrub provides great colour all the way through to the fall and forms edible rosehips.


Yellow Twig Dogwood

This small deciduous shrub is great for filling space and provides great winter colour with it's bright yellow twigs. It looks fantastic when mixed with Red Osier Dogwood.


Red Osier Dogwood

This fast growing shrub is great provides great winter colour when paired with Yellow Twig Dogwood. In the fall it's leaves turn a deep red, making this a great year round garden plant.


Bearberry

This low, slow grower makes for an interesting ground cover with it's small purple-white flowers and bright red berries. It tolerates acidic soils that can be caused by fallen pine needles.


Highbush Cranberry

This fast growing shrub can grow up to 5 metres high and clusters of white blooms in late June. It also produces an edible, bright red fruit that often hangs on through the winter.


Trees

White Spruce

These large, dense spruce trees can grow up two 16 feet and are great shelterbelt plants but can even be pruned into hedges if height is an issue.


Trembling Aspen

These large deciduous trees have small roundish leaves that "tremble" in the wind creating a relaxing atmosphere. The small leaves turn a bright yellow in the fall.


Balsam Fir

The balsam fir the the only fir tree native to Northern regions and is easily distinguished from spruce by it's flat needles. Balsam Fir are commonly used by Christmas tree growers for their fast and dense growth.


Balsam Poplar

This large deciduous tree has leaves that turn yellow in the fall. If seedlings are grown from a cutting, and are a male clone the do not produce the white fluff that is normally seen.


Schubert Chokecherry

This small ornamental, fruit bearing deciduous tree  has maroon coloured leaves and produces dark red edible berries. It is great for providing long season colour in any garden.

Friday 17 August 2012

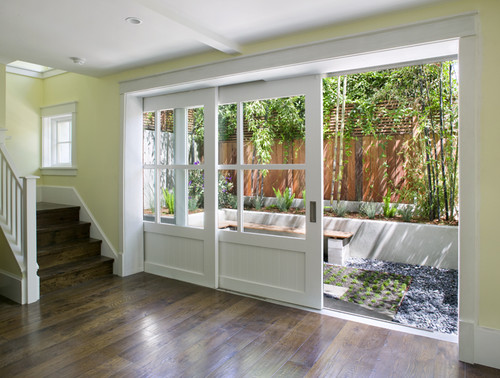
Tune Up a Sliding Door


(Image: Houzz)

Exterior Sliders


Remove the door and inspect the track, be sure to have someone help you as the door will be quite heavy. To remove the door, slide the operating panel into the half open position. From inside lift the door up into the top track as far as possible. Tilt the door so the bottom goes outward and the top can be gently lowered. Place the removed door onto a saw horse.

Many exterior sliding doors collect dirt and debris so be sure to clean the tracks with a stiff bristle brush or sponge and some soap and water. Then clean and lubricate the rollers in the bottom of the door.

If the track is bent and rubbing against the door, tap out the bend using a block of wood and hammer. Reinstall your door panel. With the door nearly closed, look for a even space between the door and the jamb. Adjust if necessary.

If you need to adjust one side of the door up or down, locate the adjustment screws at the bottom of the door. Look for trim caps covering the screws, if there are some you will need to pry those out first. Turning the screws clockwise should raise the door; counter-clockwise should lower it, Start by giving each screw a quarter turn to check the action. Adjust the height as needed.

Interior Bypassing Closet Door


Turn on the closet light and close yourself inside the closet to see how the door meets the jamb. If the door meets the jamb but rubs the carpet, or if the door is too high and does not meet with the floor guides, raise or lower both sides equally.

Using a screwdriver turn the adjusting screws, typically located on the back of each roller bracket, until you've aligned the door with the jamb. Some cam-types adjust as you turn the screw. While some other types allow you to adjust after loosening the screw and setting it in place by retightening the screw.

Pocket Doors


The door brackets on the top of the door hook onto hanger bolts suspended from a pair of two or four wheel trolleys that ride in the track. The hanger bolts allow you to make adjustments. To access the hanger bolts, remove the stop and the split head jamb on one side of the door. This will either be quite tricky or easy, depending on how the door fastens together.
 
If you see screws, remove them. If you don't see any screws, carefully pry off the stop and look again for screws that may secure the split jamb to the frame of the pocket door. If the casing is nailed to the jamb, it shouldn't be. Pry the pieces apart enough to cut the nails with a hacksaw blade, or drive each nail through the casing with a nail set and hammer. 

Use an open-ended wrench to turn the hanger bolt and level the door. When you've properly adjusted the door, tighten the locknut, then reinstall the trim and touch up the paint as needed.

Wednesday 15 August 2012

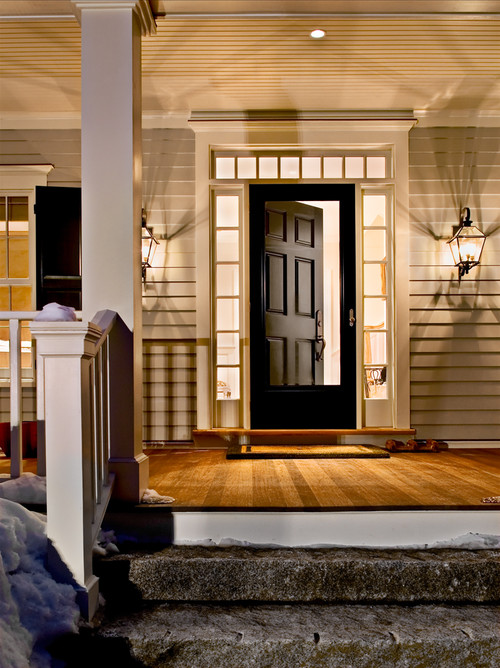
How To Repair Interior Doors


Do your interior doors open and close by themselves? Come unlatched when you're certain you closed it properly? No, your house isn't haunted, identify the real issue and fix it.


(Image: Houzz)

Problem: Binds at outside top edge
The door is sticking to the top edge because the screws have stripped or loosened over time.
Solution: Drive in a long screw
Remove the loose screw and drive a No. 8, 3-in. screw into the trimmer stud closest to the stop. Brace yourself against the latch-side jamb and push hard to avoid stripping the screw head.


Problem: Binds at inside bottom edge
The lower door jamb is out of plumb and the door is catching at the bottom.
Solution: Re-nail the jamb 
Pry out the inside casing with a stiff putty knife. Drive a casing nail through the jamb and existing shim into the trimmer stud. Punch the nail slightly below the wood surface with a nail set, then putty the hole, sand smooth and refinish.


Problem: Binds along the entire edge

The whole door is binding along the edge, mostly only when the weather is humid.
Solution: Sand the edge
With the door installed, using the jamb as a guide mark the trim line with tape. Then remove the door and sand down to the tape with a belt sander.


Problem: Doesn't latch
The latch won't catch unless you lift or slam the door
.
Solution: File the strike plate
Clamp the plate in a vise and file down the side that needs to be enlarged. Choose a flat metal file approximately the same width as the strike opening to make filing easier.

Friday 10 August 2012

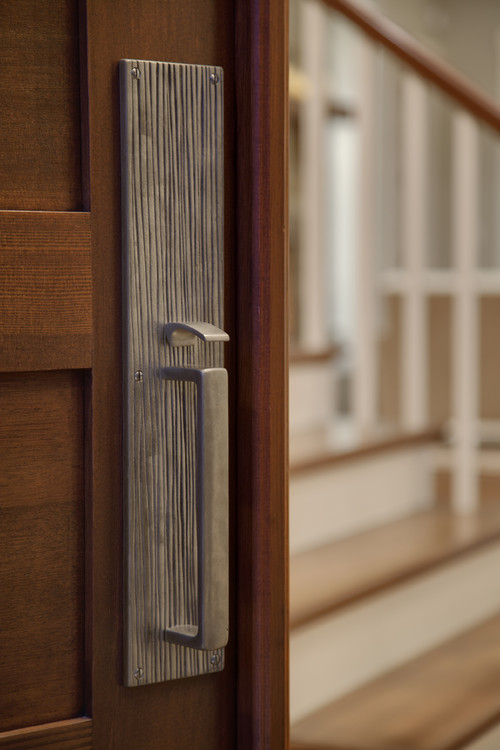
Repair & Replace Door Hardware


Whatever you’re reason for replacing hardware whether it be security, accessibility or for a new look, it’s important to use the right tools and the right hardware.

There are three hardware types for interior doors: privacy lock sets, passage latch sets, and dummy sets.

If you’re changing hardware for a bedroom or bathroom, opt for a privacy lockset with a simple push lock. If your door is a larger closet or a main room of the house like a living room or dining room opt for a passage latch set. If your door is a smaller closet or other room where the door does not latch, go for a dummy set.

(Image: Houzz)
  1. How To:
  1. Before you purchase your new door handle, measure your door. The standard door size is 1 3/8-inch thick, and modern door handles are designed to fit this size. Check your door’s thickness before you select your new hardware.
  2. Next, decide what type of door handle you’d like: a knob-type handle or a lever-type handle. Knob-type handles turn with a round knob, while lever-type handles look like a sideways “L.” You push down on the lever to open the door.

    When you purchase your hardware set, make sure your package contains: interior and exterior sides of the handle set, the latch, a strike plate that goes on the jamb of the door, installation screws and key (if you’re using a privacy lockset). These items will be listed on the package.
    1. Remove your old door hardware. To do this, look for two screws on the interior side of the handle (near the door). Take out the screws in the door edge and pull off the knob slowly.

       Remove the strike plate on the doorjamb. The strike plate is the metal plate affixed to a doorjamb with a hole or holes for the bolt of the door. Your doorjamb is the vertical part of the frame where the door is secured. Insert your latches into the faceplate holes and secure them with two screws.

      Now it's time to install the new hardware! Start by installing the faceplate. Make sure the plate fits flush with the door. If it doesn’t, use a hammer to lightly tap the faceplate until it sits flush.

      Next, insert the side of the handle set that fits through the middle of the latch. Then fit the exterior half of the doorknob over the interior half (it will fit snugly). and
  3. Secure the two halves together with the two screws that came with the knob. Tip: Install the first screw loosely and then insert the second screw. That way, you’ll be sure they line up properly. Once they’re both in, then you can tighten the screws with a screwdriver. Lastly, install the strike plate in the doorjamb with two screws for wood.

Wednesday 8 August 2012

Batten Down the Hatches 
Repairing a Storm Door 


Does it take the force of 1,000 winds to close your storm door? If your door doesn't close or takes a firm tug to close, chances are it's grating against the frame and your nerves. When the metal frame on the hinge side of the door comes loose, or the moulding loosens, the door begins to sag and scrape against the opposite side of the frame.


(Image: Houzz)

Before you go running for your tools asses and determine where the issue is. Partly open the door and push the door up and down, keeping an eye on the hinge side of the frame. 

Re-Nail the Door Moulding

If the moulding moves, secure it with extra nails. Start by adding a couple of nails near the top of the wood trim. Then add nails further down if necessary. Sink the nailheads slightly with a nail set, cover the heads with acrylic caulk and touch up the moulding with paint. Position the door by wedging a shim between the door and the frame. Pre-drill and drive 10d galvanized finish nails to firmly fasten the moulding.

Add Additional Screws

If your wood trim is good it's more than likely your metal framing loosening. To fix the metal frame add a few No. 8 x 1-in. pan head screws. Stick a shim between the door and the frame, tighten the existing screws and drill new screw holes through the frame. Press lightly as you drill the metal; you don’t want to drill into the wood molding with the 3/16-in. bit. Then drill a 3/32-in. pilot hole into the wood and add screws. Usually two or three screws added near the top of the frame will work. For a neater look, spray-paint the screw heads first.

Friday 3 August 2012

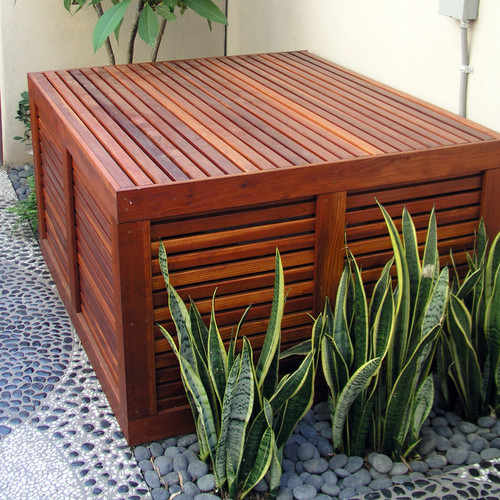
Summer Energy Audit


Save money while you keep your cool by taking stock on your summer energy usage. Between 50%-70% energy usage in homes goes toward heating and cooling.


(Image: Houzz)

If you have in home air conditioning, not only are you lucky, you should be sure to replace your furnace filter every 4 to 8 weeks. This will keep your air conditioner/furnace running more efficiently. A dirty filter will increase the cost of running your system.

Block sunlight and keep the heat out by drawing your curtain during the warmest parts of the day. If you're not sure when that is, draw your curtains once daytime temperatures surpass a comfortable level. At work all day? Keep your curtains drawn to keep your house cooler while you're out.


Run your ceiling fans counter-clockwise. The counter-clockwise direction draws cool air upward, which increases air circulation and your fans efficiency during summer months. If you have an air conditioner, this can reduce the strain and save you money on your energy bill.


Clean your air conditioning unit. The more your AC works, the more leaves, grass and dirt get sucked into the unit. Condensing coils filled with dirt and debris shut off, leaving you with a hot house full of cranky people. 


Make sure all your ducts are properly sealed. Leaky ductwork attributes to 25 percent of cooling costs. If you have central AC and you notice that the temperature between rooms fluctuates drastically, then you have some leaks. Call a pro to have your ducts tightly seal. Professionals don't recommend sealing your air ducts with duct tape as it does not seal properly and can loosen over time.


Keep Cool Without the AC

Why not kick the AC for a day and make some homemade ice cream to enjoy out in the sunshine. Why not start with this recipe, no ice cream maker needed!