

Switching from a single to a double bathroom sink sounds complicated but we promise you can actually do it yourself. Once you done the fun part of choosing your new sinks and vanity, it is just a matter of tying together 2 sinks into a one main drain, easy right? We believe in you!
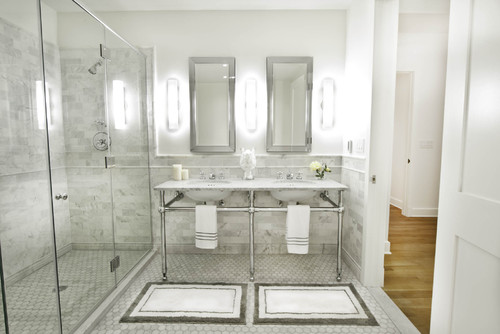
(Image Via Houzz)
 Shut off the water with the shut-off valves under the sink. Begin removing the existing vanity by loosening the caulk between the wall and the vanity with a utility knife. Carefully remove the vanity countertop so as not to damage the wall. Remove all the screws or nails that are holding the old vanity to the wall. Dispose or recycle your old vanity.
 Turn off all water going to the house with the main shut-off valve. For additional safety, turn off the shut-off valves on top of your water heater. Find the lowest faucet in the house and drain the water. Once that is complete, you can remove the old bathroom vanity shut-off valves and dispose of them.
 Put in new double-outlet valves. Do this by slotting the supply pipe into the valve, making sure to pass the nut and compression washer over the pipe. Tighten that with a wrench. Repeat this for the hot and cold lines.
  Turn the main water supply back on and make sure not to forget the water heater valves. Check the new plumbing for leaks. If you find one, tighten the compression nut a bit more.
  Before you install the new vanity top, install the faucet and drain assembly to it. Attach the flexible supply line and tighten the compression nuts to the threaded posts that are on the faucet. Put the faucet through the pre-drilled holes in the vanity top, tighten the nut included to keep it in place. Put in the drain assembly by applying plumber’s putty under the rim of the drain trim. Push it down through the top of the drain hole. Next, tighten the nut from underneath the vanity until putty oozes out on all sides. This seals the drain to prevent leaks. Scrape off excess putty.
  Screw in the tailpiece that comes from the drain assembly to the drain pipe and tighten it. Put in the lift lever and the stopper by lining up the lift lever through the hole in the rear of the tailpiece. Place it into the hole in the stopper.
 Install the new vanity, securing it to the wall studs. Check to make sure the top is level and that all valves are clear of any drawers or other obstacles in the vanity. Apply a bead of silicone along the top of the vanity cabinet and set the sink on top.
  Connect the supply lines to the hot and cold shut-off valves. Tighten the compression nuts with a wrench. Hook up connect the new drain assembly to the old drain pipe. Use a t-connector and a new p-trap. Tighten.
  Turn your shut-off valves back on. Keep your eyes peeled for leaks. Turn on the faucet and check for any leaks from the drain line. Fill the sink up with water and allow it to all drain so that you can check for leaks under pressure. Once you're sure everything is fine apply caulk to the sides and back of the vanity top to secure it to the wall. Allow it dry for 24 hours.