Wednesday 27 June 2012

5 Benefits of Houseplants


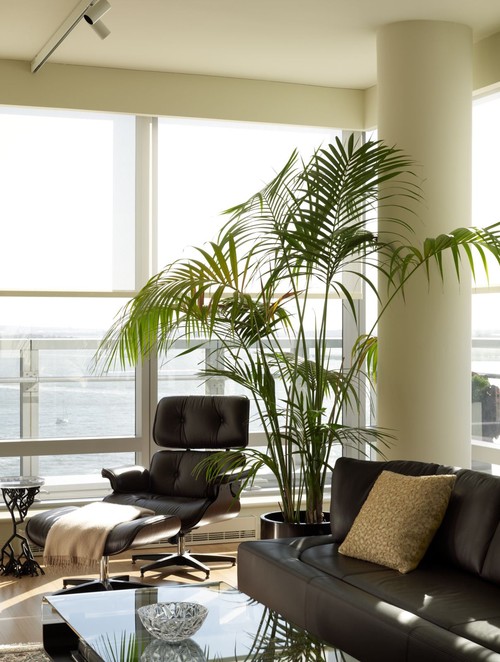
Have you ever noticed when you walk into a greenhouse suddenly you can breath easy and life doesn't seem so difficult? There's a reason for that.

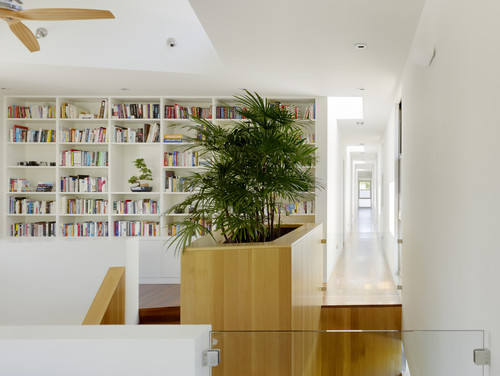
Most people know that many plants are good for producing oxygen and generally improve the look and feel of their living spaces, but according to NASA indoor plants can greatly improve your homes indoor air quality and help with some health ailments. 

So before you book yourself in for a doctor’s appointment when you get the sniffles maybe you should consider picking up a plant.


Improve air quality: Houseplants remove elements found in many building materials such as trichloroethylene, benzene, and formaldehyde. Formaldehyde can be found in materials such as particleboard and foam insulation. While Benzene is found in many cleaning chemicals, oils and paints and Trichloroethylene is used in paints, adhesives, inks and varnishes.

Fight colds: By increasing the humidity in your home, indoor plants can reduce cold related symptoms by 30%.

Prevent allergies: By exposing children early in life to allergens like plants it can help build a tolerance.

Improve sleep: Plants such as Gerbera daises release oxygen at night while scented plants like lavender can help relax you.

Reduce headaches: By creating oxygen and lower carbon dioxide levels chances are better that you are breathing in less stuffy, stale air that can contribute to headaches.

Nasa suggests having between 14-16 house plants in at least 6 inch pots for the best results, however if you purchase larger plants you don’t need as many to achieve the best results.

If you’re looking for a plant that can do most air purifying power, Bamboo Palm, Peace Lily, Golden Pathos, Green Spider Plant, and Gerbera Daisies are some of the top performers.


Wednesday 20 June 2012

BrightNest: Helping you keep your home in shape


You keep track of your finances, calendar and friends and family digitally but how about your home? BrightNest.com is a recent startup that is gaining attention for the way it allows you to keep track of everything about your home.

Tips & Tricks

BrightNest gives you the information you need for all those home tasks you keep meaning to get started and maybe even some you haven’t even thought of. You can explore their library of money-saving tips, cleaning and organization tricks and suggested home tasks. You can then add these tasks to a list for your own reference or even assign them to other people in your home – the ultimate honey-do list!


Organize

Everything from important phone numbers to appliances, you can store all of your essential home details and documents for future reference and easy access. On top of this, BrightNest will keep track of your project history and even find owner’s manuals for your appliances. Is your fridge making weird noises that you just can’t figure out and you can’t find the manual? Simply add your appliances with their serial numbers and BrightNest will find the manual for you!


Reminders

Now you might be thinking it’s all well and good that they give you ideas but maybe your biggest issue is that you're not quite sure what needs to be done when. They’ve got that covered too! BrightNest will add relevant reminders to your To-Do’s that you can then add to your own lists. Don’t worry if you get a project that you don’t even know how to start, every project comes with all the information you need to get it done quickly and properly. BrightNest makes keeping your home maintained and organized that much easier. 


Saturday 16 June 2012

29 Lessons My Kids Taught Me


While Father's Day is often about families letting Dad know just how special he is with breakfast and cards, it's always nice to receive a little extra wisdom from him. Many of us believe we have all the answers before having kids only to find out that there is so much more we can learn about the world and ourselves.

A son teaches you:


Use positive words: Choose your words carefully, he will repeat them.
Look for opportunity everywhere: Everything you see and do is a chance to learn something new.
Accept mistakes: Nobody gets everything right the first time.
Pay attention to the details: You might miss something important if you don't.
Stop complaining: How can you expect him to stop complaining if you're complaining?
Be consistent: If you're consistent it will lead to less chaos in every area of his life.
Keep experimenting: It's the best way to learn.
Pride is addictive: Take pride in what you do and others will follow.
Don’t Yell: It hurts everyone.
Disappointment is painful: Try not let it show too much.
You will lose tools: When he uses them.
It won’t be right: Get over it, he will do it his way, not yours.
Let them take risks: Life, Health and Freedom - if it's not at risk try not to worry.
Don’t try to “keep up”: The older you get, the longer the recovery.
Organized sports are good: They keep the mind off the girls – a bit.
Take your time getting to where you are going: It is easier on everybody.

A daughter teaches you:


Be inclusive: Use their ideas, it’s not all about you.
Be the best man you can be: Quietly lead by example.
Be Patient: Stay calm and never let them see you sweat.
We are all amateurs: Give space for both challenges and opportunities.
Be available: Always.
Be spontaneous: Keeping things exciting to keep learning fun.
Be there: As required, not all the time.
Don’t be too hard on yourself: You are not a perfect parent and that's okay.
You don’t always get what you want: See “boyfriends”.
Set a standard of expectations: Treat your daughter with the utmost respect, it will pay off – see "boyfriends".
How to Belly Laugh: Always there to make you laugh.
Memories are better than things: Spend as much time as you can together.
Take your time getting to where your going: it is easier on everybody.

Wednesday 13 June 2012

How To Maintain a Fence


A fence is more than just a marker for a property line.  A fence can keep people and pets in or out, provide security and increase value and curb appeal. No matter what type of fencing you have, maintaining it is always important.

Wood Fence


Wood fences can be the most difficult to maintain but for many it is worth the added charm. Inspect your fence for any boards that are in need of repair. Repair could include repainting or replacing an entire panel. If your fence is stained you will need to restain every few years. Climate is a major factor for how often you will need to restain but the general rule is if water no longer beads of your fence when wet, it’s time.


Vinyl Fence


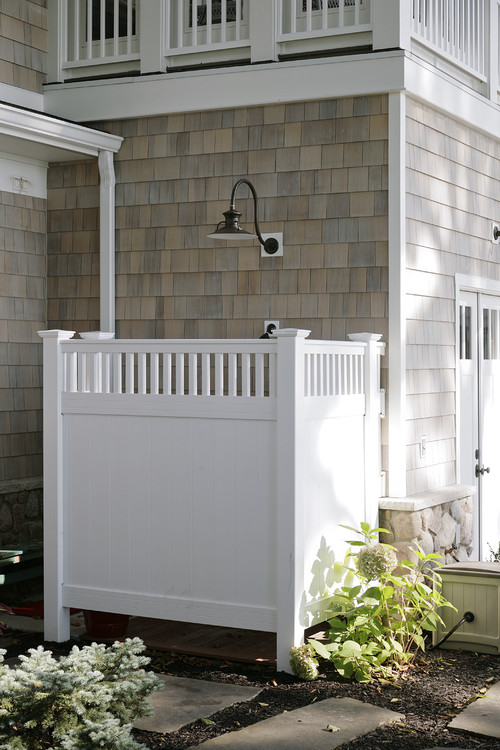
Vinyl fences are one of the easiest to maintain a quick spray with the hose and a scrub with a stiff bristle brush will generally clean off any grime. For tougher stains, a stiff bristled brush combined with a mix of dish soap and vinegar should easily remove any tough stains. Never use caustic chemicals such as bleach or ammonia to clean vinyl products. These chemicals can weaken vinyl’s bonds and combined with sunlight will cause it to become brittle and weak.

Chain Link, Steel, Aluminum and Other Metal Fences


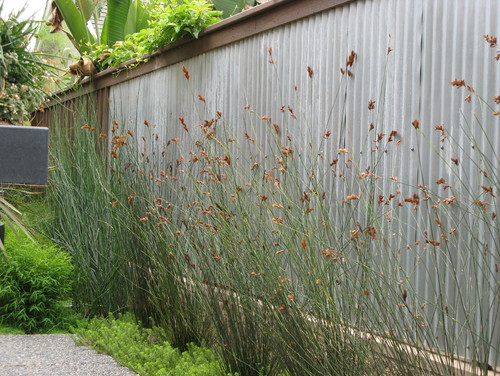
Generally for most metal and chain link fence a simple wash with a garden hose will do the trick in removing most dirt and debris.  A stiff bristled brush and a bucket of warm soapy water will easily remove any tougher, stuck on dirt. 


If rust is visible, apply a rust-inhibiting agent followed by primer then paint to match the existing colour. Heavily rusted sections, poles and hardware will need to be replaced accordingly. 

Wednesday 6 June 2012

It's Raining, it's pouring, a day without DIYing is boring!
Four rainy day DIY projects when you're stuck inside.


A rainy day or in some cases even a rainy week can really throw a wrench into your DIY plans. Don't let mother nature make your to-do list even longer, here's four projects you can do no matter what the weather forecast. 

Chalkboard Weekly Dinner Menu

This project is great for all those weekly meal planners and it stops the question "What's for dinner?" Now everyone knows what they're having. Step 1 - Cut and sand a 1.5' x 3' piece of material, it can be wood, metal or plastic, depending on your preference.

Step 2 - Spray board with 2 to 3 coats of primer and allow to dry. Apply 2 to 3 coats of chalkboard paint with a foam roller, allowing ample drying time between coats. Tip: Cover your tray and paint roller in plastic wrap in between coat so you only have to wash them once.

Step 3 - Cut out and apply stencils for your menu heading and days of the week. Paint on stencils, again allowing enough time between each coat for drying.

Step 4 - Start planning your weekly menu and get cooking!


Striped Accent Wall

Add a bit of excitement with a brightly coloured accent wall. You can even kick it up a notch with stripes or the recent even more recent trend, chevron stripes.Step 1 - Measure out your lines using a ruler or measuring tape. Use a measuring tape and straight edge to ensure your lines are even all the way up. Place painter's tape over your markings.

Step 2 - Paint 2 to 3 coats for your first set of lines. Allow each coat to dry properly.

Step 3 - Paint 2 to 3 coats for your second set of lines if you are doing a multiple coloured wall. Allow paint to dry between each coat.

Step 4 - Sit back and enjoy!


Rope Necklace

Simple hardware make this statement accessory a snap to put together.Step 1 - Use scissors to cut nine 64" pieces of nylon rope. Loop the rope through the end of the brass snap and wrap with gaffer tape once the end are looped through. Slide your coupling over the tape.

Step 2 - Clip your snap onto a secure surface, like a drawer pull. Divide the cords into three groups of six and braid the cords as you would hair.

Step 3 - When you reach 2-inchs from the cords end tightly wrap an elastic band around the base of the braid. Separate a single cord end and knot it to the end of a 4-1/2 inch gold chain.

Step 4 - Cut the remaining rope ends, wrap with gaffer tape and slide your remaining coupling over the tape.


Pendant Lights

Pendant lights aren't just for diners, they look great and can easily change the look and style of any room.Step 1- With your breaker shut off the power either in the necessary room. Remove the old light fixture.

Step 2- Attach the new mounting bracket to the junction box. In most cases, the old mounting bracket will use mounting screws that screw in from the bottom. Some new mounting brackets have open bolts on the bottom that are capped with a cap nut.

Step 3 - Following the manufacturer’s instructions attach the wires to the new fixture. Usually white to white, black to black and ground to ground.

Step 4 - Secure the connections with wire nuts, then attach the bare ground wire to the green ground screw on the mounting bracket. On some fixtures, the neutral wire may be a black wire with a white stripe. Slide the new fixture over the bolts in the mounting bracket, then attach the mounting cap nuts. Turn the power back on.

Step 5 - Invite your friends and family over to tell you how stylish your new light is!

Friday 1 June 2012

Build a Simple Raised Vegetable Garden Box


Raised garden beds are one of the easiest ways to start a vegetable garden. This 7ft x 5ft garden box is made from cedar which is naturally rot resistant and doesn't require staining, sealing or painting. However you can if you would like to match your homes decor.

When you plant the right foods the amount you spent on the materials can be quickly offset by savings at the grocery store, not to mention fresh fruits and vegetables from straight from the garden just taste that much better.

Difficulty       Time            Cost
Easy               20 Minutes       About $40

Shopping List
4 8ft cedar fence boards4 6ft cedar fence boards
1” screws
2” screws

Tools
Safety Glasses
Pencil
Hearing Protection
Drill
Circular Saw or Mitre Saw
Tape Measure

Cut List
4 1x6 cedar fence boards at 60” (end panels)
4 1x8 cedar fence boards at 84” (side panels)
8 12” from cut fence boards


Step 1: Prepare Your Location

Select a flat, level and sunny location where you would like to place your garden box. Most vegetables like between 6 to 8 hours of sunlight so it’s best to pick a location that receives a lot of sun. Measure out the area of your garden box and lay down weed fabric. Secure weed fabric in place.


Step 2: Cut Panels

Cut 1-foot off the end of each fence board so that you have four 7-foot boards, four 5-foot boards and eight 1-foot pieces.


Step 3: Build Side and End Panels

Make sure that you attach the 1-foot sections to the rough side of your fence boards as this will be the inside of your box.


Flip your boards over and using 1” screws attach with two 1-foot pieces at either end of your 7-foot boards, placed about 1-foot from the edge of the boards. 


Repeat this step with the remaining 6 boards, attaching in pairs.


Step 4: Lay Out Your Box

Now that your sides are built, lay each one in place for the garden box. Ensure that you have a slight over lap of weed fabric. 


Step 5: Attach Panels

Butt together the ends of each side up and attach using 2” screws. Add screws to the top, middle and bottom of each end.


Step 6: Finish the Box


Lightly sand any rough edges and corners to smooth away splinters. Fill with soil, either your own mixture or store bought garden soil depending on your preference.